


Install in this order: protect the room, set out the datum, base units, tall units, wall units, benchtop, doors and drawers, then snag. Each step depends on the one before. Doors go on after the benchtop because they are the most easily damaged item, and snagging is a walk-through with a list, not a quick look.
Base units first; tall and wall set out from the base.
Benchtop before doors, to avoid damage.
About 10 days for 40 units with a two-person crew.
Assemble flat pack in a clean area, not in the room.
Snag every unit with a written list before handover.
1. Protect and prepare
Cover finished floors and protect door frames before any cabinet enters the room. Clear the access route and check the delivery sequence against the install order. A cabinet that arrives before its room is ready is a cabinet that gets damaged or moved twice.
2. Set out the datum
Find the highest point of the floor and set the base height from it, so the counter is level and the toe kick follows the floor. Mark the cabinet runs, the tall units and the appliance openings on the wall. Setting out is one day that saves a week of rework.
3. Base units
Start at the corner and work outward, checking level and plumb every two units. Fix the base to the wall, then join the units together. The base run is the reference for everything that follows, so it must be right before the next step.
4. Tall units
Tall units are heavy and set the height for the wall run. Position them first, level and fix, then use them as the reference for the wall cabinets. Check the appliance openings against the appliance dimensions before fixing.
5. Wall units
Wall units hang from a rail or direct fixings, set out from the tall units and the base run. Check the gap above the counter and the alignment with the base doors. A 2 mm difference at the top is visible across a run.
6. Benchtop
Template the benchtop after the base is fixed, not before. Cut and fit, then seal the edges and cut-outs. The clearances guide covers the gaps around appliances and walls.
7. Doors and drawers
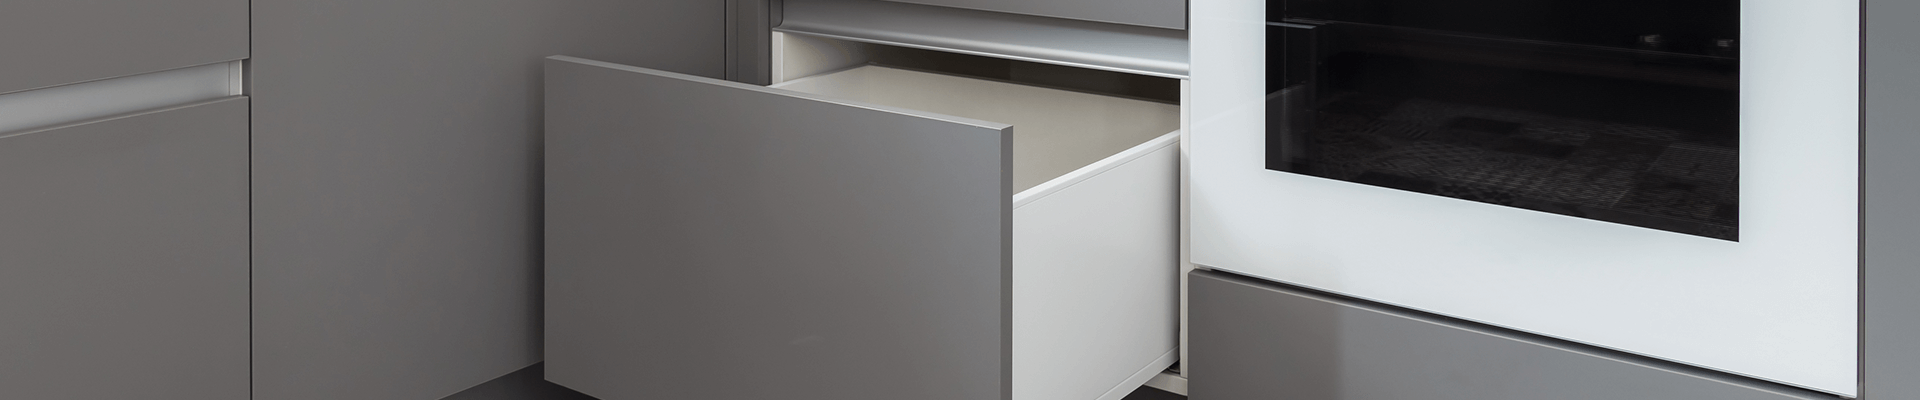
Fit doors and drawers last, after the benchtop and any splashback work. Adjust hinges and runners so the reveals are even. This is the step where the quality of the installation shows, and it is also the step most often rushed.
8. Snag and hand over
| Day | Activity | Check |
|---|---|---|
| 1 | Protect and set out | Datum, runs marked |
| 2–3 | Base units | Level, plumb, joined |
| 4–5 | Tall units | Appliance openings |
| 6–7 | Wall units | Gap and alignment |
| 8 | Benchtop | Template, seal |
| 9 | Doors and drawers | Reveals, adjustment |
| 10 | Snag and hand over | List closed |
The sequence is for 40 apartment units with a two-person crew. A single kitchen compresses to one to two days. The shop drawing guide covers what to check before day one.
9. A checklist before you commit
Before you sign, confirm six things: the board grade, the hardware model, the finish system, the packing standard, the inspection scope and the payment schedule. Each should be in writing, not in a call. The quote checklist turns the six into a one-page comparison.
10. Common mistakes
The most common mistake is comparing a factory price with a landed cost. The second is leaving the inspection out of the budget. The third is paying the balance before the inspection is signed off. Each is avoidable with a written scope and a pre-shipment inspection.
11. How to measure the room
Measure each wall at three points, top, middle and bottom, and use the smallest. Walls are rarely square, and a 10 mm bow over three metres changes the filler. Measure the ceiling at each corner and note sockets, radiators and soil pipes before drawing. A measured survey saves more time than a faster drawing, and the measuring guide has a printable sheet.
Frequently asked questions
What comes first, base or wall cabinets?
Base first. Tall and wall units are set out from the base run, and the base carries the benchtop template.
When should doors go on?
After the benchtop. Doors are the most easily damaged item, so they go on once the heavy work is done.
How long does installation take?
About 10 days for 40 apartment units with a two-person crew, including setting out and snagging. A single kitchen is one to two days.
Should flat pack be assembled before installation?
Yes. Assemble in a clean area, then move the carcasses into position. Assembling in the room risks damage to the finished walls.
What is snagging?
A walk-through of every unit with a list of defects, agreed with the installer and closed before handover. It is not optional; it is the step that protects the handover date.
Can installation start before all units arrive?
Yes, if the delivery is sequenced by floor or block. Starting with a partial delivery is normal on large projects, provided the sequence matches the install order.