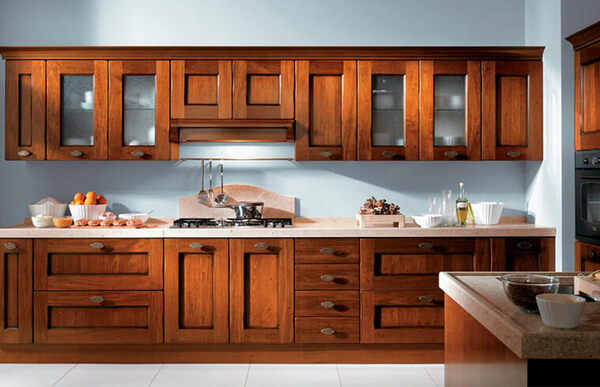
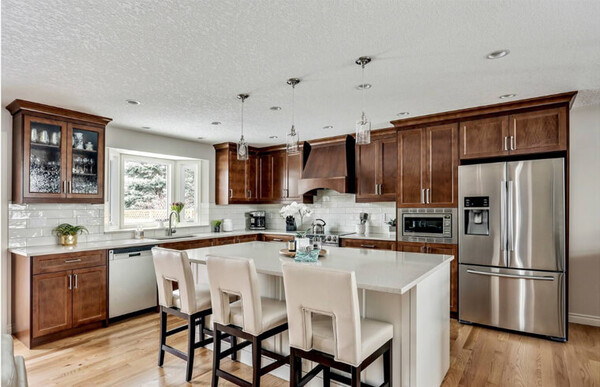
Are you looking to revamp your kitchen space without breaking the bank? DIY kitchen cabinet installation might just be the solution you need. With the right tools, a bit of patience, and our step-by-step guide, you can give your kitchen a fresh new look without the hassle of hiring professionals. In this comprehensive guide, we will walk you through the process of installing kitchen cabinets yourself, making your dream kitchen a reality.
Before we dive into the nitty-gritty of kitchen cabinet installation, let's explore why the DIY route is a popular choice. DIY projects are not only cost-effective but also offer a sense of accomplishment and personalization. By taking charge of your kitchen cabinet installation, you have control over the design, style, and overall outcome.

To get started, gather the essential materials and tools:
Kitchen cabinets
Measuring tape
Level
Pencil
Screwdriver
Drill
Screws
Wall anchors (if needed)
Shims
Cabinet hardware
Safety gear
Begin by planning the layout of your kitchen cabinets. Measure the wall space and mark the height and location of each cabinet using a pencil and level. Ensure that your cabinets are level and plumb, and use shims to make adjustments if necessary.
Next, it's time to attach the cabinets to the wall. Start with the upper cabinets. Use a drill to create pilot holes for the screws and then secure the cabinets to the wall. Be sure to check for level and plumb as you go to maintain a straight and even alignment.
For base cabinets, assemble them according to the manufacturer's instructions. Once assembled, place them in their designated spots and secure them to the wall and each other. Ensure that they are level and properly aligned.

Add the finishing touches by installing your chosen cabinet hardware. Whether you prefer handles, knobs, or pulls, this step adds a personal touch to your kitchen cabinets. Use a screwdriver to attach the hardware securely.
Take a final look at your installed kitchen cabinets and make any necessary adjustments. Ensure that all cabinets are level, doors and drawers open and close smoothly, and that the overall appearance meets your expectations.
Congratulations, you've successfully completed your DIY kitchen cabinet installation! With the right guidance, it's a project that anyone can tackle. By taking this journey into your own hands, you not only save on installation costs but also create a kitchen that reflects your personal style and preferences.
At BFP, we understand the value of a well-designed kitchen. We offer a wide range of high-quality kitchen cabinets and accessories to help you achieve your dream kitchen. Contact us today to explore your options and transform your kitchen space. Your dream kitchen is just a DIY project away!
We employ cookies to analyze website traffic and enhance your browsing experience. Data securely aggregated, privacy protected. See Privacy Policy for details.