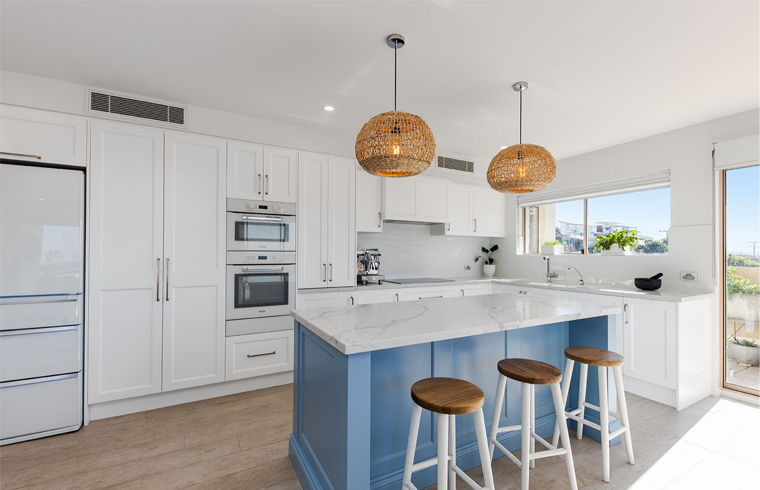
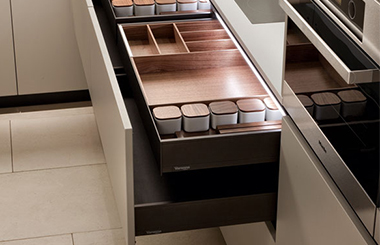
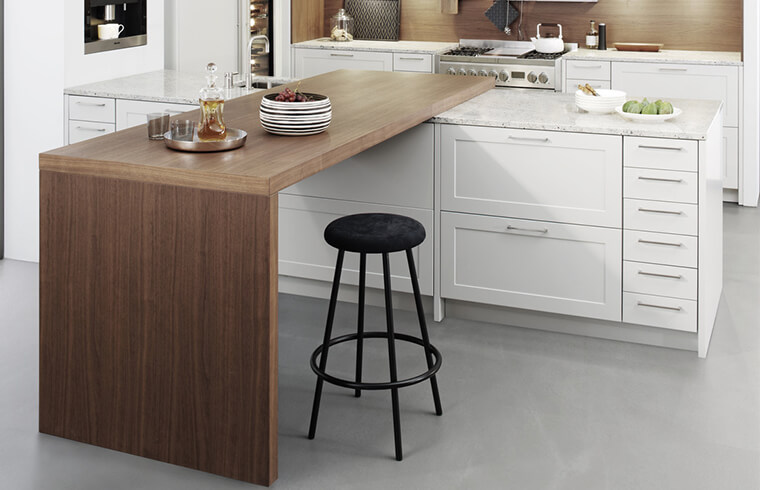
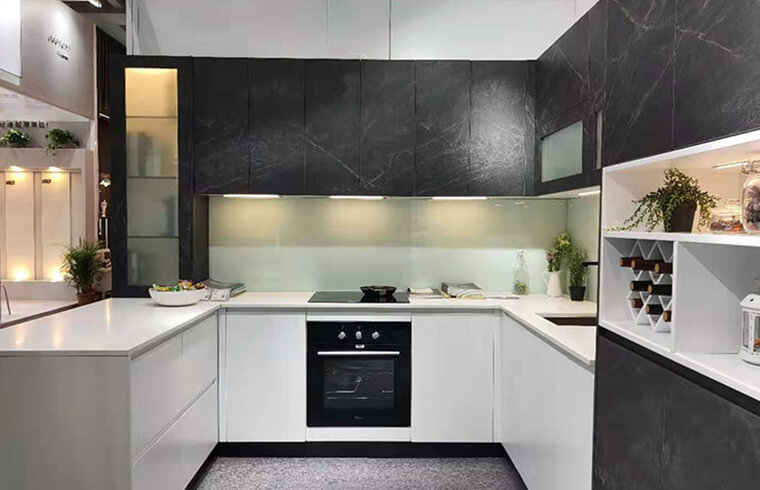
The kitchen is one of the most active spaces in the home, and cabinet doors, as the most visible part of the kitchen, often determine the overall visual experience. Over time, cabinet doors can suffer from fading, yellowing, scratches, and other issues that affect the aesthetics and experience.
Instead of replacing your entire set of cabinets at a high cost, try refinishing your kitchen cabinet doors - a low-cost, high-return, DIY-friendly home remodeling project. By simply cleaning, sanding & painting, you can give your kitchen a new look that is both environmentally friendly and economical.
This article will provide you with a set of systematic, professional and operational refinishing process process, which can be easily mastered even by novice decorators.

Before starting any refinishing work, assess the condition and material of your cabinet doors.
Material | Suitability | Notes |
Solid Wood | Excellent | Ideal for sanding and repainting |
MDF (Medium Density Fiberboard) | Good | Smooth surface, but protect from moisture |
Veneer Panels | Conditional | Only if veneer is intact and undamaged |
Particle Board | Not Recommended | Prone to swelling and poor paint adhesion |
Severe warping, swelling, or structural damage
Deep water damage or rot
Excessive wear that compromises the door frame
If the structure is solid and only the surface is worn, refinishing is a great option.
Having the right tools and materials ensures a smooth and professional result.
Screwdriver and hammer
Sandpaper (medium grit 80–120, fine grit 180–220)
Orbital sander (optional)
Paintbrushes and foam rollers (short nap recommended)
Putty knife or scraper
Gloves, mask, and safety goggles
Degreaser (TSP or homemade vinegar + baking soda solution)
Primer (water-based, low VOC preferred)
Paint (latex, wood finish, or spray paint)
Sealant (water-based polyurethane)
Wood filler or putty (for repairs)
New hardware (handles, pulls)
Spray gun (for a smoother finish)
Masking tape and plastic sheeting (to protect surrounding areas)

Follow these steps to achieve a professional-looking finish on your kitchen cabinet doors.
Use a screwdriver to remove all cabinet doors and drawer fronts.
Label each door with its original location using masking tape or take photos for reference.
Remove old hinges and check if replacements are needed.
Use TSP or a homemade degreasing solution to remove grease, grime, and dust.
Wipe down surfaces with a damp cloth and allow them to dry completely.
Ensure good ventilation and wear protective gear during cleaning.
Fill cracks, dents, or scratches with wood filler.
Allow it to dry fully, then sand the area until smooth.
Pay special attention to carved or detailed sections.
Tip: BFP recommends choosing wood filler that matches your cabinet tone for better blending.

Coarse Sanding: Start with 80–120 grit sandpaper to remove old finishes or rough spots.
Fine Sanding: Finish with 180–220 grit sandpaper for a smooth base.
Dust Removal: Use a shop vacuum with a brush attachment, followed by a tack cloth to remove residual dust.
Ensure consistent sanding across edges and corners.
Primer enhances paint adhesion and prevents uneven absorption.
Use a fast-drying, low-VOC water-based primer.
Apply evenly with a brush or roller. Let dry completely before applying a second coat.
Choose a finish that matches your kitchen style:
Matte White – Classic modern look
Light Gray/Blue-Green – Scandinavian or rustic charm
Dark Wood Tones – Warmth and depth
Application Tips:
Apply multiple thin coats instead of one thick coat to avoid drips
Brush in a single direction for a cleaner finish
For a smooth result, use a spray gun in a well-ventilated space
You can also experiment with two-tone designs or gradient effects for a custom look.
Use water-based polyurethane to protect the finish.
Choose matte, satin, or gloss based on your desired look.
Apply with a clean brush and allow to cure fully.
Attach new or refinished handles and hinges.
Reinstall cabinet doors according to your labels or photos.
Check alignment and ensure smooth opening and closing.
Optional Enhancements
To further elevate the design of your kitchen:
Upgrade to stylish new hardware
Add decorative moldings or trim
Install glass inserts or metal mesh panels
Use decals or transfer patterns for a personalized touch

Proper care will extend the life of your newly finished cabinet doors.
Clean regularly with mild soap and a soft cloth
Avoid harsh chemicals like bleach or ammonia
Check hardware periodically for looseness
Touch up small scratches with leftover paint
Inspect hinges and pulls every three months
Consider reapplying a clear coat every few years to maintain luster
Refinishing kitchen cabinet doors is a practical, budget-friendly way to give your kitchen a fresh, updated look. With the right preparation and technique, even DIY beginners can achieve excellent results.
Looking to take your kitchen upgrade even further?
Explore BFP cabinet’s custom kitchen cabinet solutions for premium-quality doors, modern designs, and durable finishes. Whether you’re refinishing or replacing, BFP is here to help you create a kitchen you love.
Contact Us Today for a free consultation or browse our cabinet collections for more inspiration!
We employ cookies to analyze website traffic and enhance your browsing experience. Data securely aggregated, privacy protected. See Privacy Policy for details.