Repainting your kitchen cabinets is one of the most affordable and high-impact ways to refresh your kitchen without undergoing a full renovation. Unlike cabinets in other parts of the home, kitchen cabinets endure daily exposure to grease, steam, fingerprints, and fluctuating humidity. That means this project is about more than just picking a pretty color—it's about durability, proper prep, and knowing how paint performs under kitchen conditions.
In this guide, we'll walk you through everything you need to know to repaint your kitchen cabinets successfully—from understanding the materials and choosing the right finish to prepping in a grease-prone space and making sure your painted cabinets hold up in a real kitchen.

Painting in a kitchen isn't the same as painting a bedroom wall or even a bathroom vanity. Cooking grease, splashes from boiling water, and sticky hands leave residues that interfere with paint adhesion. Temperature and humidity also fluctuate more in the kitchen than in other rooms, meaning poor surface prep or incompatible materials can quickly result in peeling or bubbling.
That's why every decision—from sanding to paint selection—needs to account for how often the kitchen is used and how harsh the environment can be.
Start by identifying what you're working with. Most kitchen cabinets are either solid wood, MDF, wood veneer, or laminate. Each behaves differently when painted.
Solid wood: Ideal for painting. It sands well, holds primer, and absorbs paint consistently.
MDF: Affordable and smooth, but can swell if not properly sealed—especially important in humid kitchens.
Wood veneer: Thin layer over core board; sanding must be gentle to avoid damage.
Laminate: Requires bonding primer, as it resists adhesion; common in budget or rental kitchens.
If you're dealing with custom kitchen cabinets, they may already have specialty finishes or protective coatings that need to be handled with care. High-end finishes often repel regular primers and paints unless thoroughly prepped.
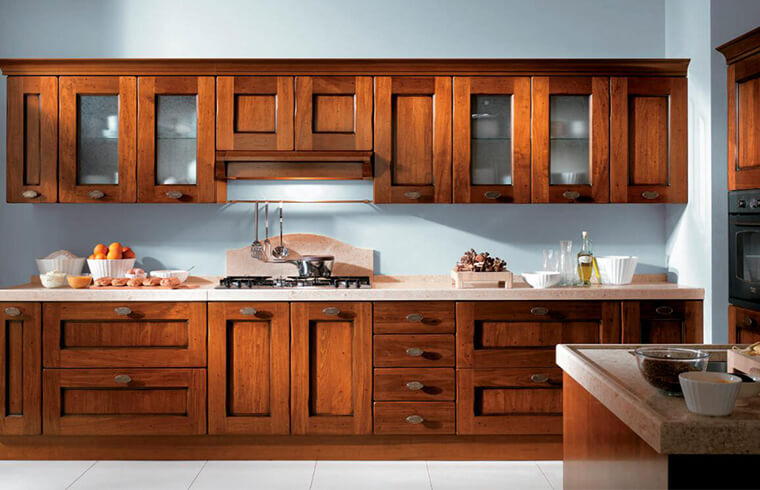
Even for a small kitchen, this project can take anywhere from four to seven full days depending on drying conditions and complexity. Disassembly, cleaning, sanding, priming, and painting all require full attention. The kitchen will be partially unusable during that time, so plan accordingly.
Some homeowners choose to tackle this in zones, but for the smoothest, most uniform finish, a whole-kitchen approach is best.
Because of the unique demands of a kitchen, the quality of tools you use makes a difference.
Degreasing cleaner (TSP or similar kitchen-safe degreaser)
Painter's tape
Drop cloths or plastic sheeting
Screwdriver or drill for disassembly
High-adhesion bonding primer
Cabinet-grade enamel paint (alkyd or acrylic)
120- and 220-grit sandpaper or sanding block
Angled brush (2–2.5 inches)
Foam roller or sprayer (optional but helpful)
Tack cloth or microfiber cloth
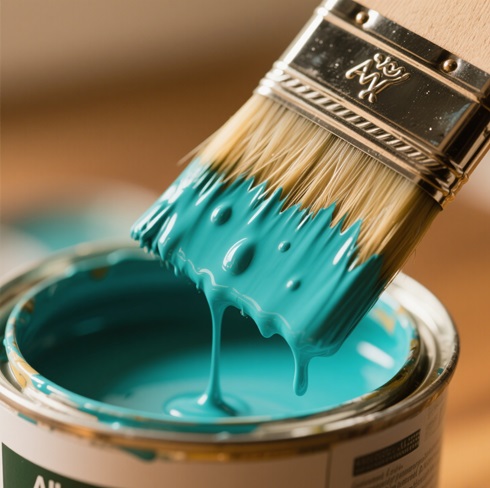
Painter's pyramids or push pins (for elevating doors while drying)
Labeling tape and zip bags (to keep hardware organized)
Small detail brush for inside corners and bevels
Shop vacuum with brush attachment to clear sanding dust
A key tip for the kitchen: use low-VOC or zero-VOC products when possible. Kitchens often lack ideal ventilation, so safer air quality is essential.
Label each door and drawer front to remember where it belongs. Store hinges, handles, and screws in separate bags for each cabinet section. Removing doors makes it easier to get clean edges and helps avoid paint drips inside.
In the kitchen, it's especially important to also remove any open shelving or molding that will be painted—it often hides built-up grease or dust.
No step matters more in the kitchen than degreasing. Kitchen cabinets accumulate invisible layers of oil and grime from months or years of cooking. If left uncleaned, this residue will ruin paint adhesion and lead to premature chipping.
Use a degreasing cleaner on every surface—fronts, backs, sides, frames, and even hinges if you plan to paint around them. Rinse thoroughly and let everything dry completely.
Don't skip cleaning areas like the cabinet bottom lip or the frames near the stove—they're often the greasiest.
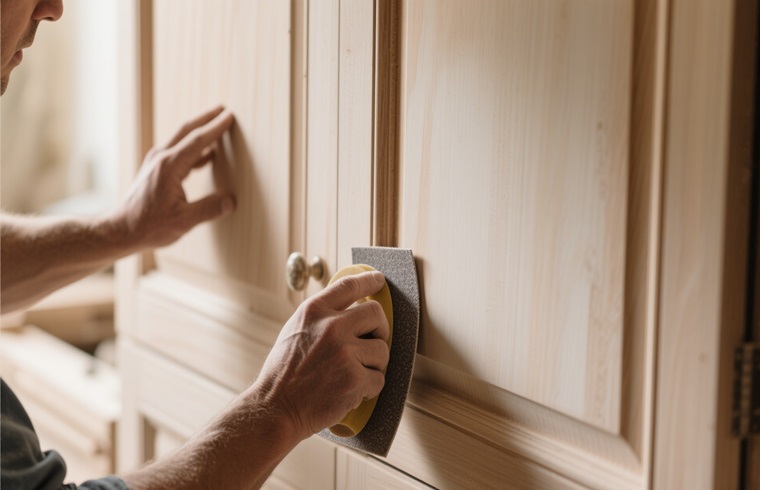
You're not sanding to strip—you're sanding to scuff. Use 120-grit paper to dull glossy finishes, followed by 220-grit to smooth the surface. Focus on creating a slightly rough surface that primer can grip.
Kitchen cabinets often have rounded edges, decorative insets, or trim. Use a sponge sander or sanding block to keep pressure even. For inside corners, use folded sandpaper by hand.
Vacuum up dust thoroughly and wipe everything down with a tack cloth. Any dust left behind will create bumps under the paint.
Use painter's tape to mask off walls, appliances, floors, and inside cabinet boxes. If you're not painting the cabinet interiors, tape along the inside lip of each opening.
Lay down drop cloths to cover countertops and the floor. In a kitchen, dust and overspray tend to drift—masking generously saves time cleaning later.
If you're spraying paint, consider hanging plastic sheeting across doorways to contain the spray within the kitchen.
This step is especially important in kitchens due to moisture and grease exposure. Use a bonding primer that specifically adheres to glossy, pre-finished, or laminate surfaces.
Apply primer using a brush for corners and a foam roller or sprayer for flat panels. Let the primer dry completely, then inspect for any areas where it didn't adhere well—re-sand and touch up as needed.
Once dry, sand again lightly with 220-grit to knock down any raised grain or dust nibs. Wipe clean with a tack cloth.
Paint the kitchen cabinet boxes before moving to doors and drawers. Use an angled brush to get into corners and a foam roller for large, flat areas.
Apply thin, even coats and allow them to dry fully between applications. Two coats are generally necessary, sometimes three if going from dark to light.
Let dry for at least 6–8 hours between coats in kitchens, where humidity can affect curing. Use fans or dehumidifiers if needed.
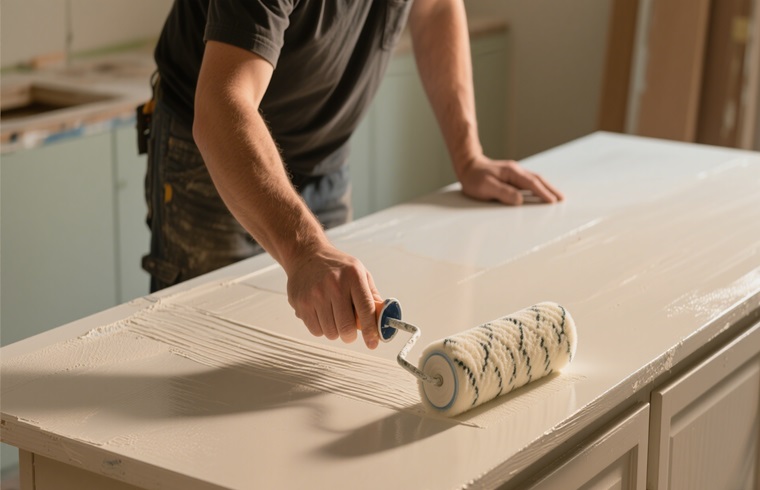
Lay the doors flat on a protected surface, ideally elevated to prevent sticking. Paint one side, let it fully dry, then flip. Apply paint the same way—brush for details, roller or sprayer for the main areas.
Allow a minimum of 24 hours before flipping, especially in humid kitchens where dry time slows down. Avoid stacking or leaning painted parts together.
A key kitchen-specific tip: don't paint around hardware without removing it—grease and dust hide underneath, and the paint won't bond well.
Cabinet paint may feel dry in a few hours, but “dry to the touch” is not “fully cured.” Especially in a warm kitchen, paint takes longer to fully harden.
Let the paint cure for 48–72 hours before reattaching doors. If possible, give it a full week before normal use—don't hang towels, slam drawers, or let steam accumulate.
Once cured, reinstall hinges, handles, and each piece in its labeled position. Use care—freshly painted surfaces are still vulnerable to scratches.
Consider using new hardware to complete the transformation. Even a fresh coat of paint on an old kitchen feels new when paired with updated pulls or knobs.
Use cabinet enamel labeled “kitchen-safe” or “moisture-resistant.”
Apply multiple thin coats rather than one thick coat.
Sand between coats for a pro-level finish.
Allow for extra dry time in humid kitchens.
Avoid painting during cooking—steam will interfere with adhesion.
Use painter's pyramids to elevate drying doors and prevent sticking.
Skipping degreasing (results in bubbling or peeling)
Applying too much paint at once (leads to drips)
Rushing dry time (soft paint that dents easily)
Painting over hinges or dirty hardware
Ignoring humidity or temperature (causes uneven drying)
Painting kitchen cabinets is more technical than repainting a shelf. The kitchen's unique conditions (steam, oil, constant use) make it unforgiving to shortcuts.
If you're detail-oriented, patient, and willing to invest time, DIY can give you great results under $300. But if your cabinets are damaged, heavily greasy, or feature complex moldings, hiring a pro might be worth the $2,000–$6,000 investment.
| Aspect | DIY | Professional |
|---|---|---|
| Cost | Typically $150–$300 for tools and materials | $2,000–$6,000 depending on kitchen size |
| Time Commitment | 4–7 days (may extend with drying/cure time) | 2–3 days on average |
| Required Skills | Intermediate to advanced DIY skills | No skill needed—experts handle all tasks |
| Finish Quality | Good if prepped well; slight brush marks possible | Flawless sprayed finish with factory-level quality |
| Flexibility | Full control over color, timing, and technique | Limited to contractor's availability and process |
| Risk of Mistakes | Higher—especially with poor prep or humidity | Low—professionals are experienced in kitchen environments |
Wipe regularly with a damp, soft cloth—avoid scrubbing.
Don't use abrasive sponges or citrus cleaners.
Fix chips immediately to prevent peeling.
Avoid hanging damp cloths or letting moisture sit near seams.
Add bumpers to soft-close drawers to reduce impact.
Painting your kitchen cabinets is more than a cosmetic update—it's an investment in the most-used room of your home. With the right prep, the right products, and a focus on how kitchens function day-to-day, your freshly painted cabinets can rival the look of new ones at a fraction of the cost.
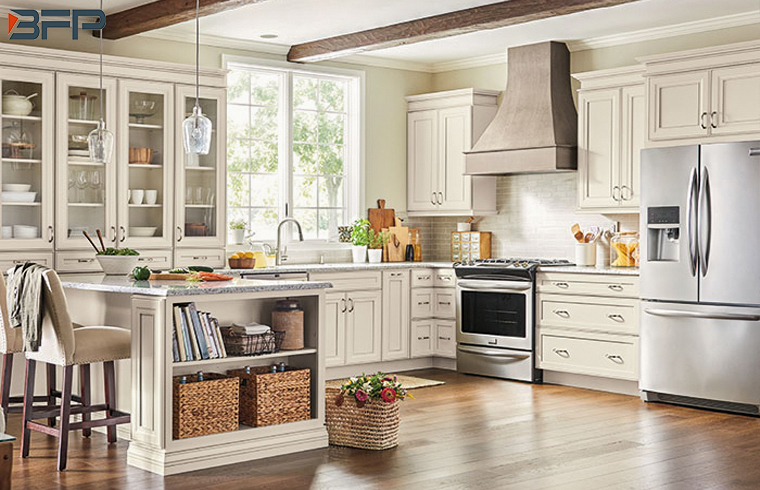
Whether you're refreshing builder-grade units or customizing your layout with beautifully crafted custom kitchen cabinets, success comes from planning, patience, and a steady hand. And when you're ready to explore long-term cabinet solutions beyond paint, BFP Cabinetry offers versatile designs and finishes that elevate any kitchen space.
Reach us at sales7@bfpglobal.com or visit www.bfpcabinetry.com.
We employ cookies to analyze website traffic and enhance your browsing experience. Data securely aggregated, privacy protected. See Privacy Policy for details.