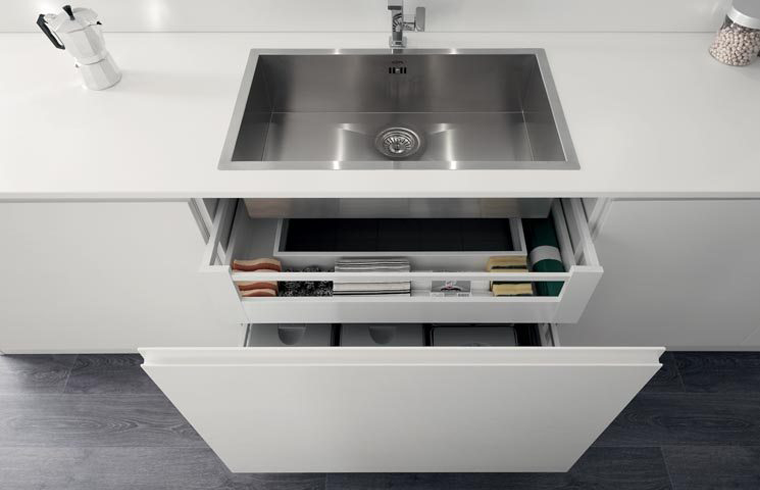
Your kitchen cabinets are one of the most used—and most overlooked—surfaces in your home. Every time you cook, grease, dust, and food particles become airborne and settle on cabinet doors, handles, and even inside the cabinets themselves. Over time, this buildup can dull finishes, attract dirt, and even harbor bacteria.
Cleaning your kitchen cabinet isn’t just about aesthetics—it’s an important part of maintaining a clean and healthy kitchen environment. Whether your cabinets are made of wood, laminate, painted MDF, or metal, regular cleaning helps preserve theirappearance and functionality.
In this guide, we’ll walk you through everything you need to know about cleaning your kitchen cabinets, from daily maintenance to deep cleaning routines, so you can keep them looking fresh and well-maintained year after year.

Keeping your kitchen cabinets clean doesn’t have to be a big chore if you follow a regular cleaning schedule. The right frequency depends largely on how often your kitchen is used and how quickly dirt and grease accumulate.
For most households, a daily routine can make a big difference. Simply wipe down visible spills, splatters, or fingerprints as soon as they happen. This prevents grime from setting in and makes deeper cleaning much easier later.
A weekly wipe-down is also highly recommended. Use a mild cleaner and a microfiber cloth to gently clean all cabinet surfaces. Pay special attention to handles, knobs, and other high-touch areas that collect oils from hands and show dirt more easily.
For a more thorough approach, aim to do a full deep clean twice a year. During this process, empty each cabinet one at a time, and clean both interior and exterior surfaces. Don’t forget corners, trim, and hardware—these spots tend to collect dust and grease over time.
Pro Tip: If you cook frequently or have children, sticking to a weekly cleaning schedule will help keep your cabinets looking fresh with minimal effort. A little maintenance goes a long way in preserving their appearance and extending their lifespan.
Before diving into the cleaning process, gather your supplies. Having the right tools will make the job faster and more effective:
Essential Cleaning Supplies
Mild dish soap (like Dawn)
Microfiber cloths or soft rags
Warm water
All-purpose cleaner (check that it’s safe for your cabinet material)
Bucket or spray bottle
Vacuum with a brush attachment (for dusting inside cabinets)
Soft-bristle brush or toothbrush (for tight crevices)
Dry towels or paper towels
Optional but Helpful
White vinegar (for layer-upon-layer grime on non-wood surfaces)
Rubbing alcohol (great for removing sticky residue and disinfecting)
Baking soda (use sparingly for tough stains)
Glass cleaner (if you have glass-front cabinets)
Important Note: Avoid using cleaners with high pH levels, like bleach or ammonia, especially on painted or wood surfaces. Also, avoid scrub pads or steel wool, which can scratch and damage cabinet finishes.

You don’t need to deep-clean your cabinets every week, but a regular surface clean is essential for maintaining their look and function.
Start by wiping down each cabinet door with a dry microfiber cloth to remove loose dust and cobwebs. This prevents dirt from turning into a muddy mess when you apply cleaner.
Mix a few drops of dish soap into a bowl or bucket of warm water. Alternatively, use a small amount of all-purpose cleaner diluted according to label instructions.
For best results: Dip a soft cloth into the solution, wring it out thoroughly, and begin wiping.
Go over the front and sides of each cabinet door. Pay special attention to:
Knobs and drawer pulls
Edges and frames
Any areas with noticeable fingerprints or grease
Use a soft-bristle brush or toothbrush to gently scrub hard-to-reach spots or grooves.
Wipe off any remaining cleaner with a damp cloth, then follow up with a dry cloth or paper towel. Make sure no moisture is left behind, especially on wood or laminate surfaces, to prevent swelling or warping.
Set a reminder to do this quick clean once a week. It takes just a few minutes and keeps your cabinets looking consistently clean without needing constant deep cleans.

While many cleaning methods work across cabinet materials, some finishes and surfaces require special care. Here's how to clean the most common types of kitchen cabinets safely and effectively.
Painted cabinets add a sleek, modern look—but they’re also more delicate than other finishes.
Use: Mild dish soap and water or an all-purpose cleaner labeled safe for painted surfaces.
Avoid: Magic Erasers (melamine foam), which act like fine sandpaper and can strip paint or leave dull spots.
Tip: Always test any new cleaner on a small, hidden area before applying it to visible surfaces.
Natural wood brings warmth and elegance to your kitchen, but it needs extra care to maintain its luster.
Use: A dedicated oil-based wood cleaner—this helps break down grease while nourishing the wood.
Finish with: A polish like beeswax or Liquid Gold to restore shine and protect the finish.
Avoid: Vinegar, lemon juice, or ammonia-based cleaners—they can dry out wood or damage the finish.
Laminate is durable and easy to clean, but it’s prone to moisture damage if not dried properly.
Use: Soapy water or a gentle all-purpose cleaner.
Avoid: Excess water or steam, which can cause swelling or delamination.
Never use: Abrasive pads or harsh chemicals that may scratch or discolor the surface.
Stainless steel or powder-coated metal cabinets are tough and resistant to wear.
Use: Soap and water for daily cleaning; rubbing alcohol or fine steel wool for stains or rust.
Optional: Stainless steel cleaner for a polished look.
Avoid: Strong acids unless spot-tested and used sparingly.
If your cabinets have glass inserts, they need special attention to avoid streaks.
Use: A quality glass cleaner and a microfiber cloth or newspaper for a streak-free finish.
Avoid: Rough cloths or paper towels that can leave lint behind.

Grease buildup is one of the biggest challenges when cleaning kitchen cabinets—especially near the stove or range hood.
Start by wiping the greasy area with a soft cloth dipped in warm, soapy water. This removes light grease and prepares the surface for deeper cleaning.
Dampen a cloth with rubbing alcohol and gently rub the greasy area. Alcohol dissolves sticky buildup without damaging most finishes.
Mix a capful of liquid fabric softener into a bowl of warm water. Dampen a cloth or paper towel and wipe the greasy area. It’s less abrasive than alcohol and leaves a pleasant scent.
Make a paste using baking soda and a little water. Apply it to the greasy spot, let sit for 5–10 minutes, then gently scrub with a soft sponge. Rinse and dry thoroughly.
Warning: Do not use baking soda on wood cabinets—it’s too abrasive and can damage the finish.
For food prep areas or high-touch zones, use a diluted bleach solution (1 tablespoon of bleach per liter of hot water) to kill germs. Rinse well and dry immediately.
A deep clean should be done at least once or twice a year. It’s a great time to organize your pantry and remove built-up grime.
Step 1: Empty One Cabinet at a Time
Don’t empty everything at once—work cabinet by cabinet to avoid clutter and confusion.
Step 2: Vacuum Inside the Cabinet
Use the brush attachment on your vacuum to remove dust, crumbs, and debris from corners, shelves, and door backs.
Step 3: Wipe Down Interior Surfaces
Using a damp cloth and mild cleaner, wipe the inside of each cabinet thoroughly. Pay extra attention to:
Corners
Trim
Back panels
Shelves
Step 4: Clean Hardware and Handles
Handles, knobs, and hinges collect dirt and oils from hands. Use a toothbrush dipped in soapy water or rubbing alcohol to scrub around screws and crevices.
Step 5: Reassemble and Organize
Before putting items back, take the opportunity to discard expired items, reorganize, and declutter your storage space.
With regular maintenance and the right cleaning techniques, your kitchen cabinets can stay beautiful and functional for years to come. Whether you're wiping off daily smudges or doing a seasonal deep clean, these routines help protect your cabinets from wear and tear—keeping your kitchen a clean, welcoming space.
Looking to upgrade your space with cabinets that are not only stylish but also built to last? BFP is a trusted China kitchen cabinet manufacturer offering high-quality, customizable solutions to fit any home. Explore our wide range of durable, easy-to-maintain cabinet styles and let us help you create a kitchen you’ll love for years.
Contact BFP today to start your kitchen transformation!


We employ cookies to analyze website traffic and enhance your browsing experience. Data securely aggregated, privacy protected. See Privacy Policy for details.