When designing or renovating your kitchen, getting the cabinet sizes and dimensions right is essential. Kitchen cabinets provide vital storage and shape the overall look and function of the space. Understanding standard kitchen cabinet sizes and dimensions helps you make informed choices — whether you're updating your current layout or starting fresh. Many overlook how much planning should go into selecting the right cabinet sizes. From base cabinets that support countertops to wall cabinets that maximize vertical space, each type has standard measurements for average users and layouts. However, standards don’t mean one-size-fits-all. With some knowledge, you can work within these guidelines to design a kitchen that’s both beautiful and perfectly suited to your needs. In this guide, we’ll explore common cabinet types, their standard sizes, and how to plan wisely.
Understanding the basic types of kitchen cabinets and their standard sizes is key to creating a well-organized and functional kitchen. Each cabinet type serves a specific purpose, and knowing their dimensions helps ensure everything fits together seamlessly.
Base cabinets sit directly on the floor and support countertops, sinks, and major appliances like stoves and dishwashers. They’re where most of your everyday cooking and prep work happens, so choosing the right size matters.
Standard Height: 34.5 inches (without countertop), typically 36 inches when paired with a countertop
Depth: Usually 24 inches, though some deeper models reach up to 25 inches
Widths: Available in a wide range, typically from 9 to 48 inches, increasing in 3-inch increments (e.g., 12", 15", 18", etc.)
Tip: When planning sink placement, consider using a 30-inch wide cabinet for a single-basin sink or a 36-inch model for a double basin.
Specialty base cabinets like Lazy Susans and blind corner cabinets have slightly different widths to accommodate rotating shelves or awkward corners, making them perfect for tight spaces.
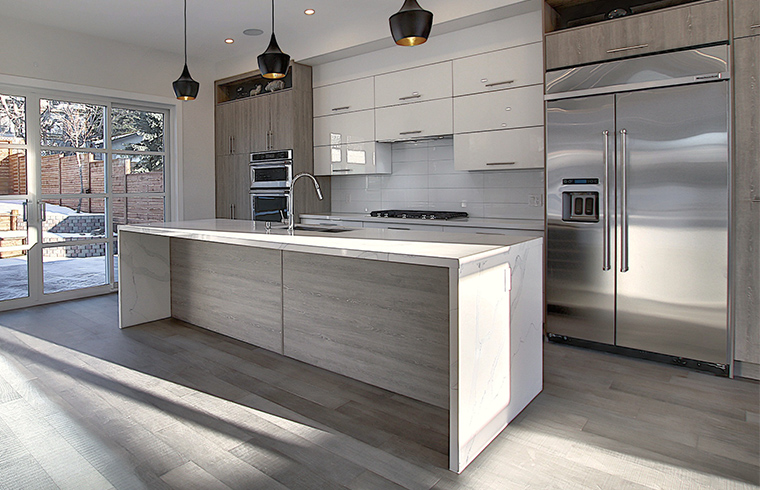
Also known as upper cabinets, wall cabinets offer extra storage for lighter items like dishes, glasses, and pantry goods. They help keep your counters clear while making use of vertical space.
Installation Height: Typically mounted 18 inches above the countertop, which puts the bottom of the cabinet around 54 inches from the floor
Height Options: Range from 12 to 42 inches depending on ceiling height and design preference
Depth: Most commonly 12 inches, though deeper versions up to 24 inches are available for built-in looks
Widths: Similar to base cabinets, ranging from 6 to 48 inches in 3-inch increments
Design Tip: For an updated look, consider going all the way to the ceiling with taller wall cabinets. This eliminates dust-collecting gaps and adds visual height to your kitchen.
To maintain balance in your design, match the height of your tall pantry cabinets with the upper wall cabinets — for example, 30-inch upper cabinets pair nicely with an 84-inch pantry unit.
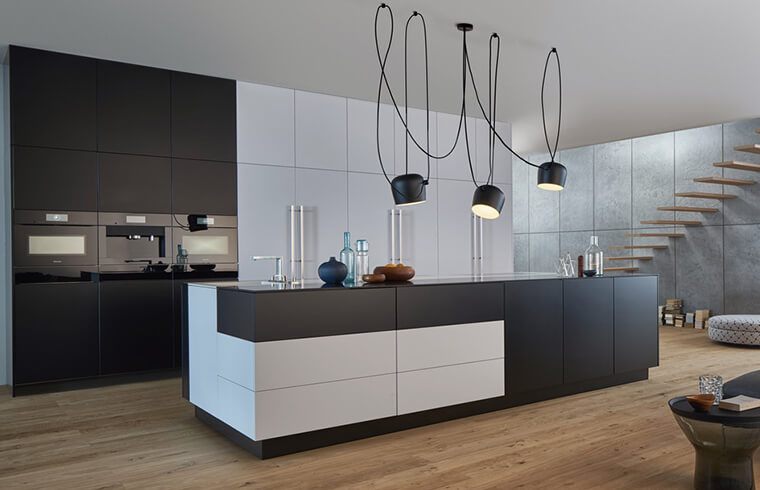
Tall cabinets, often used as pantries or utility storage, are ideal for storing bulk items, cleaning supplies, or even small appliances. These cabinets stretch toward the ceiling and blend function with style.
Total Height: Usually between 84 and 96 inches to suit standard ceiling heights
Typical Design: Divided into two sections — a 54-inch lower portion and a top section that’s 30, 36, or 42 inches high
Widths: Commonly 18", 24", 30", or 36"
Depth: Standard at 24 inches
Pro Tip: If you’re installing tall cabinets next to wall cabinets, coordinate the heights for a clean, unified appearance.
These cabinets are especially useful in smaller kitchens where floor space is limited, offering generous storage without taking up valuable real estate.
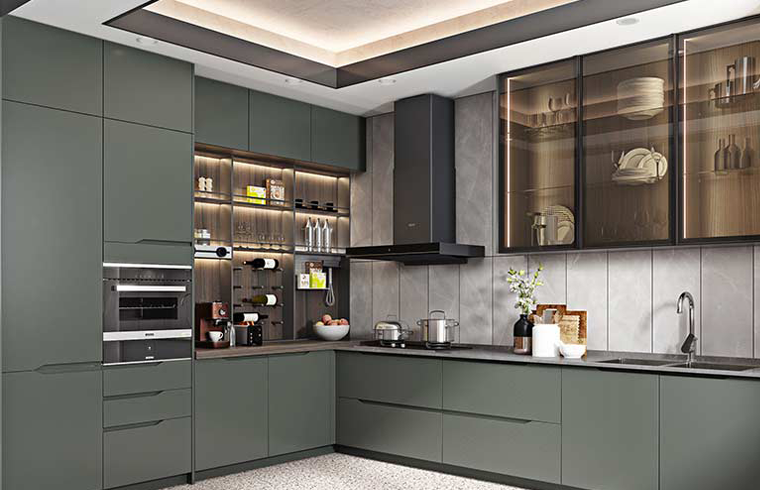
Sometimes, standard cabinets just won’t cut it — especially when dealing with corners or unique layouts. That’s where specialty cabinets come in handy.
a. Lazy Susan Cabinets
Designed to fit into corners, Lazy Susan cabinets feature rotating shelves that bring hidden items into easy reach.
Height: 34.5 inches to match base cabinets
Width: 33–36 inches to accommodate the turntable mechanism
Depth: 24 inches
These cabinets are great for organizing pots, pans, and spices in hard-to-reach corners.
b. Blind Corner Cabinets
Blind corner cabinets solve the problem of wasted corner space by extending into the angle of the walls.
Height: 34.5 inches
Width: 36 inches facing out, with the full depth extending back to 42–48 inches
Depth: 24 inches along the wall
Use swing-out racks or pull-out shelves inside to access every inch of storage.
c. Diagonal Corner Cabinets
These cabinets are angled to fit neatly into L-shaped kitchens, offering more usable space than traditional corner cabinets.
Dimensions: Match standard base cabinet height and depth (34.5" H x 24" D), with a width of 36 inches
Perfect for maximizing corner storage while maintaining a sleek, open feel.
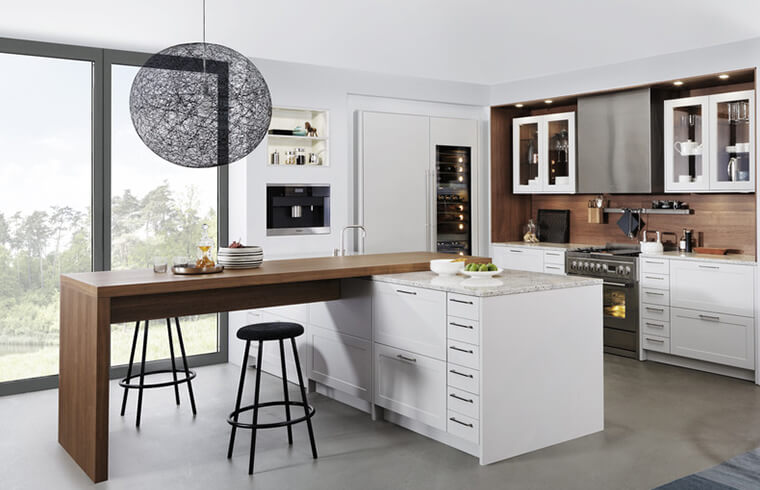
Kitchen islands cabinet are becoming increasingly popular for their added workspace and storage. Island base cabinets follow similar sizing rules as regular base cabinets but offer more flexibility in layout.
Height: 36 inches (including countertop)
Widths: Commonly 24", 30", 36", 48", or even 60"
Depth: Matches standard base cabinets at 24 inches
Design Idea: Add seating by leaving overhang space at the front of the island, and include deep drawers or shelves for extra storage.
Island cabinets are perfect for open-concept kitchens and can become the focal point of your space with the right finishes and layout.
Before you start ordering cabinets or finalizing your kitchen layout, taking accurate kitchen cabinet measurements is one of the most important steps. Even small mistakes can lead to big headaches later — like a cabinet that doesn’t fit, a countertop that overhangs awkwardly, or an appliance that won’t slide into place.
Measuring carefully not only ensures everything fits perfectly but also helps you visualize how your new kitchen will come together. Understanding standard kitchen cabinet dimensions is key to making smart design choices. Here's a step-by-step guide to help you get it right the first time.
To make the measuring process smooth and precise, gather these tools before you begin:
Tape measure – for accurate length and depth readings
Level – to check if walls are straight and surfaces even
Step stool or ladder – for reaching high spots
Pencil and notebook – to jot down notes and sketch a rough layout
Camera (optional) – to take reference photos of your current setup
Start by drawing a simple floor plan of your kitchen. Mark where windows, doors, plumbing lines, and existing appliances are located. This gives you a clear picture of the space and helps you decide where each cabinet should go based on standard kitchen cabinet dimensions.
Take general room measurements to understand your overall layout:
Width: From one side wall to the other
Length: From front wall to back wall
Ceiling height: From floor to ceiling (important for tall cabinets or full-height upper units)
Pro Tip: Don’t assume walls are perfectly square — take multiple kitchen cabinet measurements to catch any irregularities.
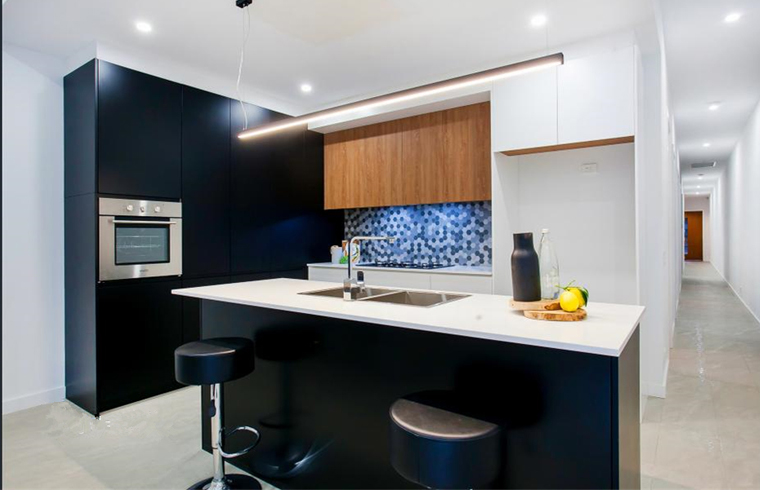
Now break things down by cabinet type and location:
Base Cabinets
Width: Measure from the left edge to the right edge of the area where the cabinet will sit. Include face frames in this measurement.
Height: From the floor to the bottom of the countertop (not including the countertop itself).
Depth: From the back wall to the front edge of the cabinet frame — usually 24 inches, aligning with standard kitchen cabinet dimensions.
Wall Cabinets
Width: Measure the horizontal space between two walls or cabinets.
Height: From the top of the cabinet to the countertop below. Standard mounting height is about 18 inches above the counter.
Depth: From the wall to the front edge of the cabinet — typically 12 inches, following common kitchen cabinet dimensions.
Tall Cabinets / Pantries
Height: Start at the floor and measure up to the ceiling. Subtract about 12–15 inches to allow for clearance at the top.
Width: Based on storage needs — common sizes are 18", 24", 30", or 36".
Depth: Usually 24 inches to match base cabinets, staying within standard kitchen cabinet dimensions.
Specialty Cabinets (Lazy Susan, Blind Corner, etc.)
These often require extra attention:
Make sure to allow enough space for door swing and access to rotating shelves.
For corner cabinets, take careful kitchen cabinet measurements on both sides of the L-shape to ensure proper fit.
Once you’ve taken all your kitchen cabinet measurements, go through them again to confirm accuracy. It’s easy to mix up inches and feet or misread a number — so always double-check before placing orders or cutting materials.
Final Tip: Leave a little wiggle room — especially around appliances — to account for installation tolerances and minor adjustments based on actual kitchen cabinet dimensions.
A well-designed kitchen isn’t just about beautiful cabinetry — it’s also about how well everything works together. That means paying close attention to how your cabinets and appliances interact. From fridge placement to microwave integration, getting the scale and spacing right ensures your kitchen looks clean and functions smoothly, especially when you align appliance sizes with standard kitchen cabinet dimensions.
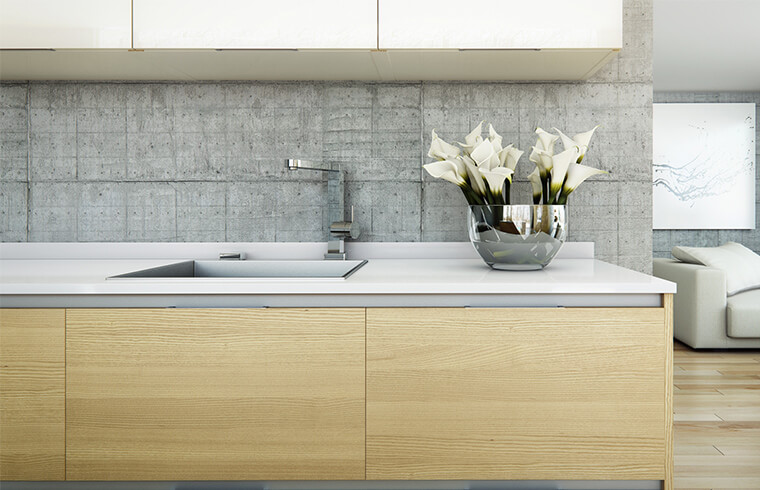
Kitchen appliances vary widely in size, and each one affects how your cabinets should be arranged. Choosing the right cabinet dimensions based on appliance size prevents awkward gaps, wasted space, or worse — having to modify cabinets after installation.
Here’s a quick breakdown of standard appliance widths and what to consider when designing around them:
Appliance | Common Widths | Design Considerations |
Refrigerator | 18", 24", 30", 36", 42", 48" | Allow ventilation space and door swing clearance |
Range / Stove | 20", 24", 30", 36", 40", 48", 60", 72" | Match hood width; leave space for heat and airflow |
Cooktop | 24", 30", 36" | Choose under-cabinet storage that complements use |
Built-in Oven | 24", 27", 30", 36" | Ensure door opens fully without hitting nearby cabinets |
Dishwasher | 24" (standard), 18" (compact) | Avoid blocking drawer pulls or handles |
Microwave | Varies | Over-the-range models affect upper cabinet height |
Range Hood | 30", 36", 42" | Should match cooktop width for balanced look |
Build in a few inches of clearance on either side to allow for ventilation and easier removal if needed.
Consider adding pull-out pantry cabinets next to the fridge for quick access to snacks and drinks.
The stove or cooktop should be flanked by cabinets or drawers for storing pots, pans, and spices.
Install a matching range hood directly above — ideally 30", 36", or 42" wide depending on the cooktop.
Place the dishwasher next to the sink for convenience.
Use shallow cabinets or open shelving above to avoid interfering with the dishwasher door when it’s open.
If installing an over-the-range microwave, adjust the height of upper cabinets accordingly — usually 18 inches above the cooktop.
Alternatively, build a dedicated nook or cabinet cutout for a built-in microwave.
Align tall pantry cabinets with wall cabinets for a cohesive look.
Use adjustable shelves inside to accommodate different-sized items like cereal boxes, canned goods, or cleaning supplies.
Design Tip: Think About Door Swing and Access
Always check how appliance doors open and whether they interfere with cabinet doors or drawers. Leaving enough space between moving parts keeps your kitchen safe, efficient, and easy to use every day.
Creating a kitchen that’s both functional and stylish is all about paying attention to the details. From clever storage solutions to thoughtful design elements, there are many ways to enhance your cabinetry beyond just choosing the right sizes.
Adding smart accessories can transform your cabinets from simple storage units into highly efficient organizers:
Pull-out Drawers: Instead of fixed shelves, pull-out drawers make it easy to access items at the back without bending over.
Lazy Susans: Perfect for corner cabinets, these rotating shelves ensure every item is within reach.
Dividers and Organizers: Use dividers in drawers for utensils, spices, or plates. Adjustable shelf dividers keep everything neatly stacked.
Under-Cabinet Lighting: LED strips under wall cabinets provide task lighting without taking up counter space.
Pantry Pull-Outs: Deep pantries benefit from pull-out shelves or baskets, making it easier to see and grab what you need.
Tip: Invest in quality hardware like soft-close hinges and drawer slides to add a touch of luxury and longevity to your kitchen cabinets.
While functionality is key, aesthetics shouldn’t be overlooked. Here are some ideas to elevate the look of your kitchen:
Glass Doors: Adding glass-front doors to select upper cabinets creates an open, airy feel while showcasing your favorite dishes or collectibles.
Decorative Handles: Choose handles that complement your kitchen’s overall style — whether sleek and modern or classic and ornate.
Accent Colors: A pop of color on one or two cabinets can serve as a focal point and add personality to your kitchen.
Molding and Trim: Decorative molding along the tops of wall cabinets adds architectural interest and ties the kitchen together visually.
Design Tip: Mix materials for added depth. For example, pairing wood cabinets with stainless steel appliances or stone countertops can create a rich, layered look.
By combining practical features with thoughtful design, you can create a kitchen that not only meets your needs but also reflects your personal taste.
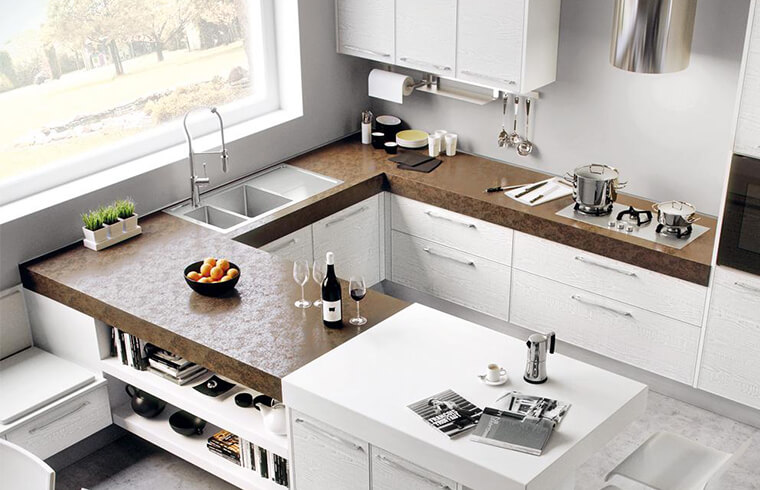
Understanding standard kitchen cabinet sizes and dimensions is just the beginning. To truly maximize your kitchen’s potential, you need to think creatively and plan wisely. Whether you’re starting from scratch or updating an existing layout, keeping these principles in mind will help you achieve a space that’s both beautiful and functional.
Standard dimensions provide a solid foundation, but don’t be afraid to customize based on your unique requirements. Maybe you need extra deep drawers for bulky pots and pans, or perhaps a taller pantry to store bulk groceries. By tailoring your cabinets to fit your lifestyle, you’ll create a kitchen that works seamlessly for you.
Here are a few final tips to ensure your project goes smoothly:
Measure Twice, Cut Once: Double-check all measurements before ordering cabinets or cutting materials.
Visualize Before You Buy: Use online tools or software to visualize different configurations before committing.
Consider Future Needs: Think about how your family might grow or change over time. Can your kitchen adapt to new demands?
Stay Within Budget: Keep track of costs throughout the process to avoid unexpected expenses.
We employ cookies to analyze website traffic and enhance your browsing experience. Data securely aggregated, privacy protected. See Privacy Policy for details.