


Specify lacquer kitchen cabinets by coating system, finish and acceptance criteria. PU identifies the resin family, UV identifies how the coating cures, and two-pack identifies a base mixed with a hardener. A two-pack PU can carry both labels. Ask for the layer schedule, target dry-film thickness, gloss, edge detail and a production sample before you compare quotes.
Compare the same substrate, profile and edge treatment across bids.
Record the coat sequence, dry-film target and gloss angle separately.
Review colour and edge coverage on a finished door, including the handle recess and back return.
Ask for test results on the proposed system and agree how repairs or replacement fronts will be handled.
What a lacquered cabinet door is
On a lacquered door, a liquid finish is applied to a prepared substrate, often MDF, and dries or cures into a film. A typical opaque build can include a sealed substrate, primer and a pigmented topcoat. Melamine-faced board uses a resin-impregnated decorative surface, PVC-wrapped doors use a bonded film, and high-pressure laminate uses a separate bonded sheet. Each can look similar under showroom lighting.
Ask for a door section or an offcut showing the face, edge and reverse. On a gloss slab door, check where the face finish meets the edge. On a routed door, ask which surfaces receive primer and topcoat. Use the BFP material and finish guide to compare options before you freeze the door specification.
How PU, UV cure and two-pack coatings compare
These terms describe different parts of the specification. A coating can be a two-pack polyurethane, and UV-curable coatings are also available with different resin chemistries. The table tells you what each label establishes and what you still need to verify.
| Label | What it tells you | What to verify before ordering |
|---|---|---|
| PU lacquer | The coating uses polyurethane chemistry. | Ask whether it is one- or two-component. Confirm the full system, cure, finish targets and repair method. |
| UV-cured lacquer | UV energy initiates cure. Factory lines can be suited to repeat flat panels. | Ask how routed edges and shaded profiles are covered and cured. Confirm substrate, dry film and the route for replacement parts. |
| 2-pack or 2K lacquer | A base is mixed with a hardener. It may be PU. | Identify both products, the compatible primer and cure requirements. Approve the finish on the actual door profile. |
Request the same door size, profile, finish area and sheen in each bid. Ask for separate prices for the finish, profile or edge work, sample and replacement front. A flat UV-finished panel may run efficiently on a compatible line. Routed edges, batch colour matching and rework can change the installed cost. Confirm how a supplier restores the sheen on a repair and when they would replace the front.
What coating count and hardness can tell you
BFP’s factory tour lists five applications on its lacquer production page, three primer and two surface applications. A sequence like this allows primer build, sanding and topcoat coverage to be specified separately. A five-application schedule and a two-application schedule can produce different results depending on the solids, application method and material removed during sanding.
Ask for the specified dry-film thickness range in µm and how it is checked on the actual substrate or a documented witness panel. Inspect opacity, surface evenness and coverage at recesses and edges. Agree the gloss reading in gloss units and the measurement angle, such as the appropriate geometry under ISO 2813. A gloss reading describes surface appearance. It does not establish how thick the film is.

BFP lacquer production. Request the coating schedule for the specific door you are buying.
BFP also lists up to 2H on the factory tour. If 2H is a tender criterion, obtain a dated result with the pencil method, test substrate, cure age and endpoint. ISO 15184 specifies a pencil test, and ASTM D3363 cautions that a soft substrate can affect the result. Assess abrasion, adhesion and cleaner resistance separately when the project requires them. Tie sample and batch sign-off to the cabinet quality-control process.
How to check yellowing and light exposure
Bright whites and pale greys can make a small colour shift more noticeable, especially next to an adjacent panel or replacement door. Long exposure, heat and the coating formulation can affect colour or sheen. Chalking, a powdery breakdown at the surface, is a separate symptom. Check the project’s window exposure and keep a signed, protected master for future comparisons.
For sunlit rooms, ask for data on the actual colour and coating stack. A report should identify the lamp, exposure cycle, duration and measured colour or gloss change. If it cites ASTM G154, verify the exposure conditions before comparing results. Use the report to compare systems tested under the same conditions. Set the acceptance limit for your project and avoid converting test hours directly into years on site.

Jamaica apartment project. BFP’s case page identifies high-gloss lacquer and light walnut melamine.
What to check at edges, mitres and grip profiles
Inspect the bottom edge, corners, hinge bores, back return and any routed grip. Ask the supplier to identify which edges are sealed, which are lacquered and how machined areas are treated. Specify both the substrate and the edge finish where fronts are exposed to sink splash, dishwasher steam or frequent wiping.
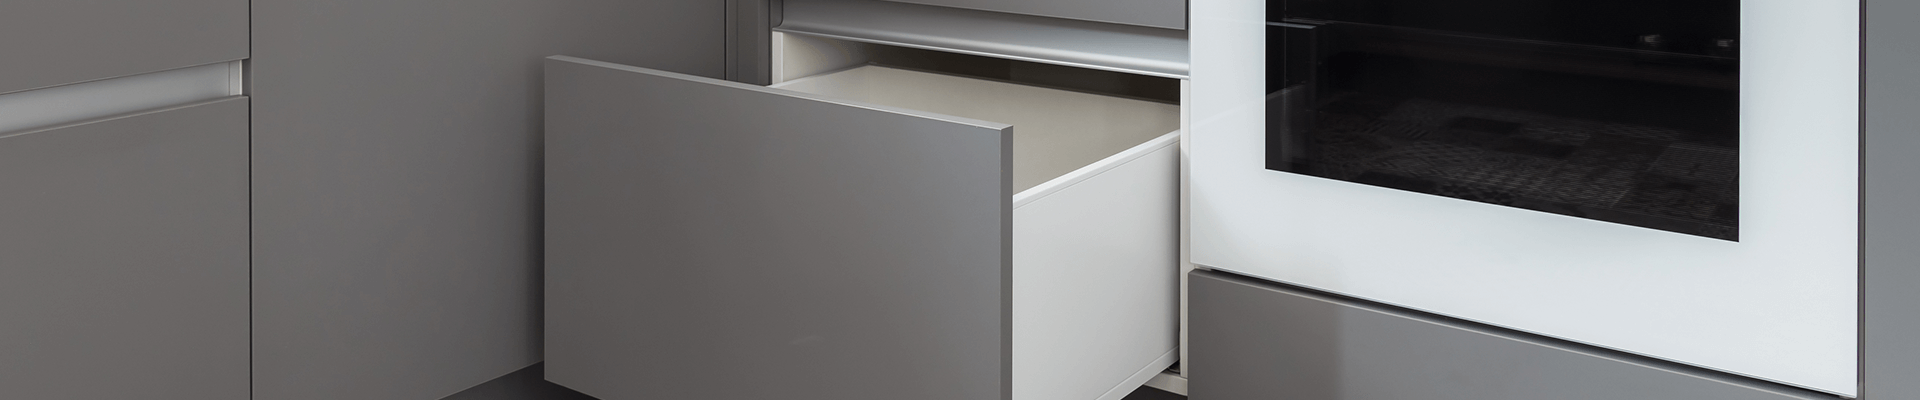
A 45° finger pull describes a grip geometry. A 45° edge joint is a separate construction detail. Ask for a section that marks the joint or coating return. Approve a physical sample and review it in raking light for exposed substrate, gaps or thin coverage. The Australian residential apartment case shows a lacquered flat front with a 45° handle cut and gives a visual reference for that geometry.
How to specify lacquer by room and climate
| Location | Starting specification | Sample approval checks |
|---|---|---|
| Project kitchen | Select matte, satin or gloss under the specified lighting. Define cleaning and steam exposure. | Check frequent-touch areas, grip routes, bottom edges and cleaner compatibility. |
| Vanity or humid interior | Specify the substrate, sealed edges, cut-outs and reverse face. Agree ventilation and splash limits. | Check the sink-side edge, back return and finished openings on the production sample. |
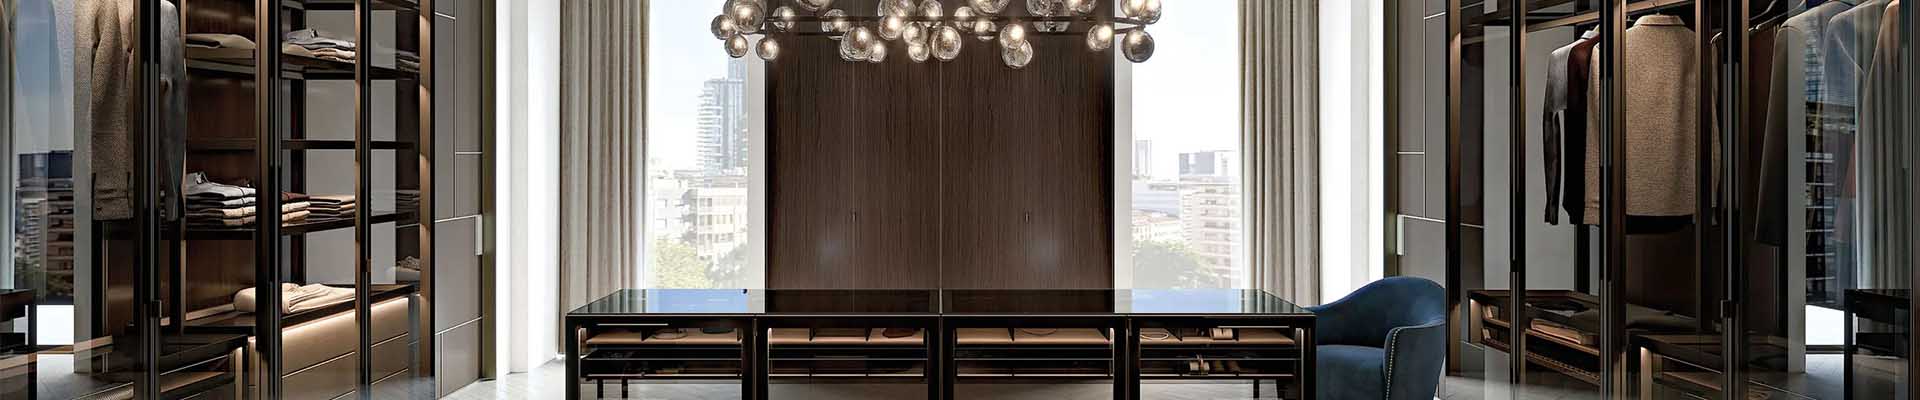
| Wardrobe or dressing room | Set colour and sheen across adjacent fronts. Flag door groups near windows. | Compare door pairs under site lighting. Agree colour matching on replacement fronts. |
| Coastal or high-humidity site | Confirm indoor conditions, care limits and suitable hardware with the supplier. | Request supporting data for the actual build and check hardware and cut-outs at the same time. |
Include one signed production door in the RFQ, with its substrate, profile, coating schedule, target sheen and colour reference. For repeat units, retain a matching factory reference and list the checks before the first batch is released. The South Australia apartment case shows high-gloss lacquer combined with a subtropical oak finish. Use it as a design reference alongside your own approval sample.

South Australia apartment project. High-gloss lacquer is paired with a subtropical oak finish.
Frequently asked questions
Is two-pack lacquer the same as PU lacquer?
Two-pack describes a base and hardener supplied separately. PU describes the resin family. Many two-pack lacquers are PU. Ask for the product codes and coating schedule to identify what the factory will apply.
Is UV-cured lacquer more resistant to sunlight?
UV curing describes how the film sets in production. To compare light stability in service, ask for exposure data on the specific colour and coating stack under documented conditions.
Does five coats mean the door is more scratch resistant?
Five applications describe the process. Ask for dry-film thickness and a suitable hardness or abrasion result on a representative sample. Specify gloss and edge coverage separately.
Can lacquered cabinets be used in a humid kitchen or bathroom?
Yes, if the supplier approves the system for the expected indoor exposure. Specify the substrate, edges, back and machined openings, and review the installation and care limits before signing off the sample.