


Edge banding fails at the joint, the end and the water line, not on the face. Thickness, adhesive and colour matching decide whether the edge survives a wet kitchen. Use 1–2 mm banding and PUR adhesive in wet areas, match the colour within about 1 mm, and seal the ends and joints.
0.4–0.8 mm for dry areas, 1–2 mm for wet areas.
PUR adhesive for moisture and heat.
Match the face colour, not the batch number.
Seal the ends and joints.
The edge fails before the face.
1. Why edges fail
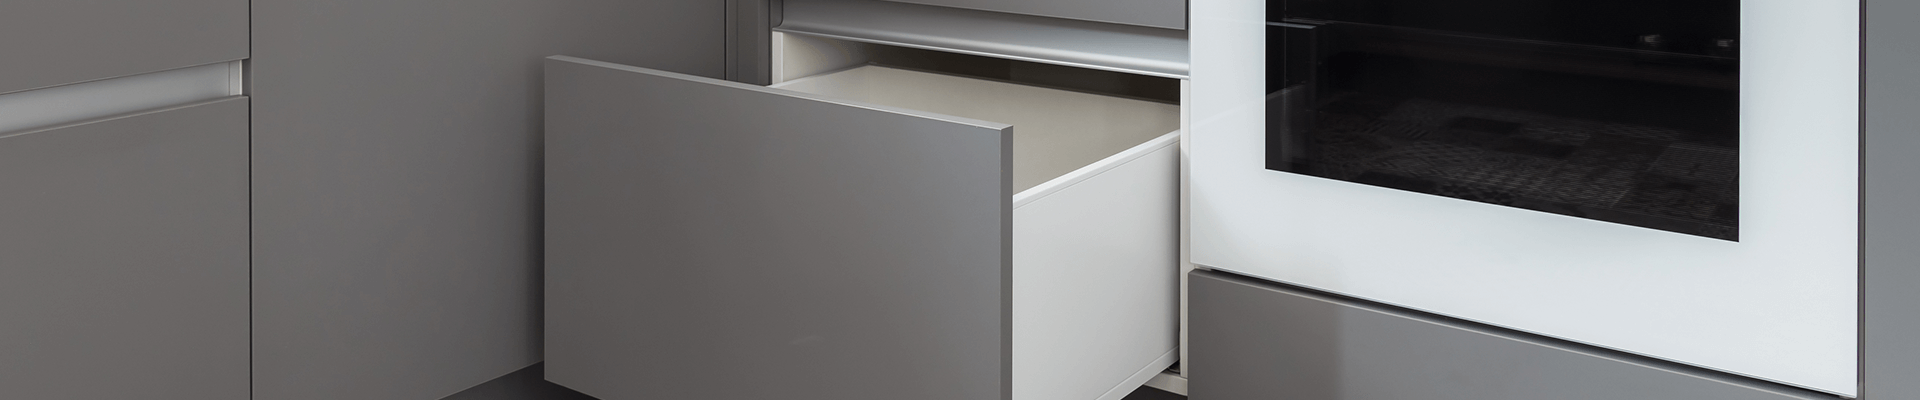
Edge banding covers the raw core of the board. It is thin, it takes the first impact, and it is where water enters. A band that lifts at the end or the joint lets water into the core, and the board swells. The face rarely fails first; the edge does.
2. Thickness by use
| Usar | Espesor | Adhesivo |
|---|---|---|
| Gabinetes secos | 0.4 – 0.8 mm | EVA |
| Kitchen general | 1 mm | EVA o PUR |
| Zonas húmedas | 1 – 2 mm | PUR |
| Uso pesado | 2 mm | PUR |
| Bordes visibles | 1 – 2 mm | PUR |
Thicker banding costs more but resists impact and moisture far better. In a wet area, the difference is not cosmetic.
3. Adhesivo
EVA is the standard hot-melt and is adequate for dry areas. PUR is more moisture-resistant and handles heat better, which is why it is specified for wet areas and heavy use. The adhesive matters as much as the band thickness, and it is often the line that is cut first.
4. Colour matching
Match the band to the face under normal light, within about 1 mm. A visible line at the edge is the most common complaint, and it is usually a colour match issue, not a thickness issue. Keep a sample of the batch for later repairs.
5. Radius and profile
A softer radius at the edge resists impact better than a sharp square edge. On a door, the radius also affects how the edge catches light. The guía de acabados para puertas covers how the edge interacts with the face finish.
6. Moisture and sealing
Seal the ends and joints, especially in wet areas. A band that is glued but not sealed at the end still lets water in. In a sink run, the cut-outs and the raw edges matter as much as the band.
7. Specifying edge banding
Name the thickness, the adhesive, the colour and the sealing requirement. A specification that says matching edge without a thickness is not checkable. The carcass guide covers the board the band protects.
8. Checking at inspection
Check three things: the band is adhered along the full length, the colour matches the face, and the ends are sealed. Run a fingernail along the edge; a lift is a failure even if it is small.
9. Una lista de verificación antes de comprometerse.
Antes de firmar, confirme seis puntos: la calidad de la placa, el modelo de hardware, el sistema de acabado, el estándar de embalaje, el alcance de la inspección y el calendario de pagos. Todos deben constar por escrito, no por teléfono. La lista de verificación del presupuesto resume estos seis puntos en una comparación de una página.
10. Errores comunes
El error más común es comparar el precio de fábrica con el costo de entrega. El segundo es no incluir la inspección en el presupuesto. El tercero es pagar el saldo antes de que se apruebe la inspección. Todos estos errores se pueden evitar con un alcance del proyecto por escrito y una inspección previa al envío.
11. Cómo medir la habitación
Mida cada pared en tres puntos: superior, medio e inferior, y utilice la medida más pequeña. Las paredes rara vez son perfectamente cuadradas, y una curvatura de 10 mm en tres metros modifica el relleno. Mida el techo en cada esquina y anote la ubicación de enchufes, radiadores y tuberías de desagüe antes de dibujar. Un levantamiento a escala ahorra más tiempo que un dibujo rápido, y la guía de medición incluye una hoja imprimible.
13. Una lista de verificación de especificaciones
Escriba cuatro líneas para cada material: el producto, el grado, el espesor y el tratamiento de la superficie o los bordes. Si un material se especifica solo por su nombre, el grado lo determina la fábrica, y es en el grado donde se definen el costo y el rendimiento.
14. Preguntas que hará la fábrica
Espere cuatro preguntas: qué grado, qué grosor, qué tipo de borde y qué lote. Las respuestas deberían estar ya incluidas en las especificaciones. Si no lo están, la fábrica elegirá la opción más económica que cumpla con el plano.
Preguntas frecuentes
What thickness of edge banding should I use?
0.4–0.8 mm for dry areas and low-cost work; 1–2 mm for wet areas, heavy use and visible edges. Thicker banding resists impact better.
What is the difference between EVA and PUR adhesive?
EVA is the standard hot-melt and is fine for dry areas. PUR is more moisture-resistant and suits wet areas and higher heat.
Why does edge banding peel?
Usually because the edge was not clean, the adhesive was too cool, or the banding was too thin for the impact. Water and heat accelerate it.
How close should the colour match?
Within about 1 mm of the face colour under normal light. A visible line at the edge is the most common complaint.
Can edge banding be replaced?
Yes, a local repair is possible, but matching the colour and sheen after production is harder than matching at production.
Does edge banding affect compliance?
It affects moisture performance, which matters in wet areas. A thin band on an HMR board still leaves the core exposed if the joint is not sealed.